
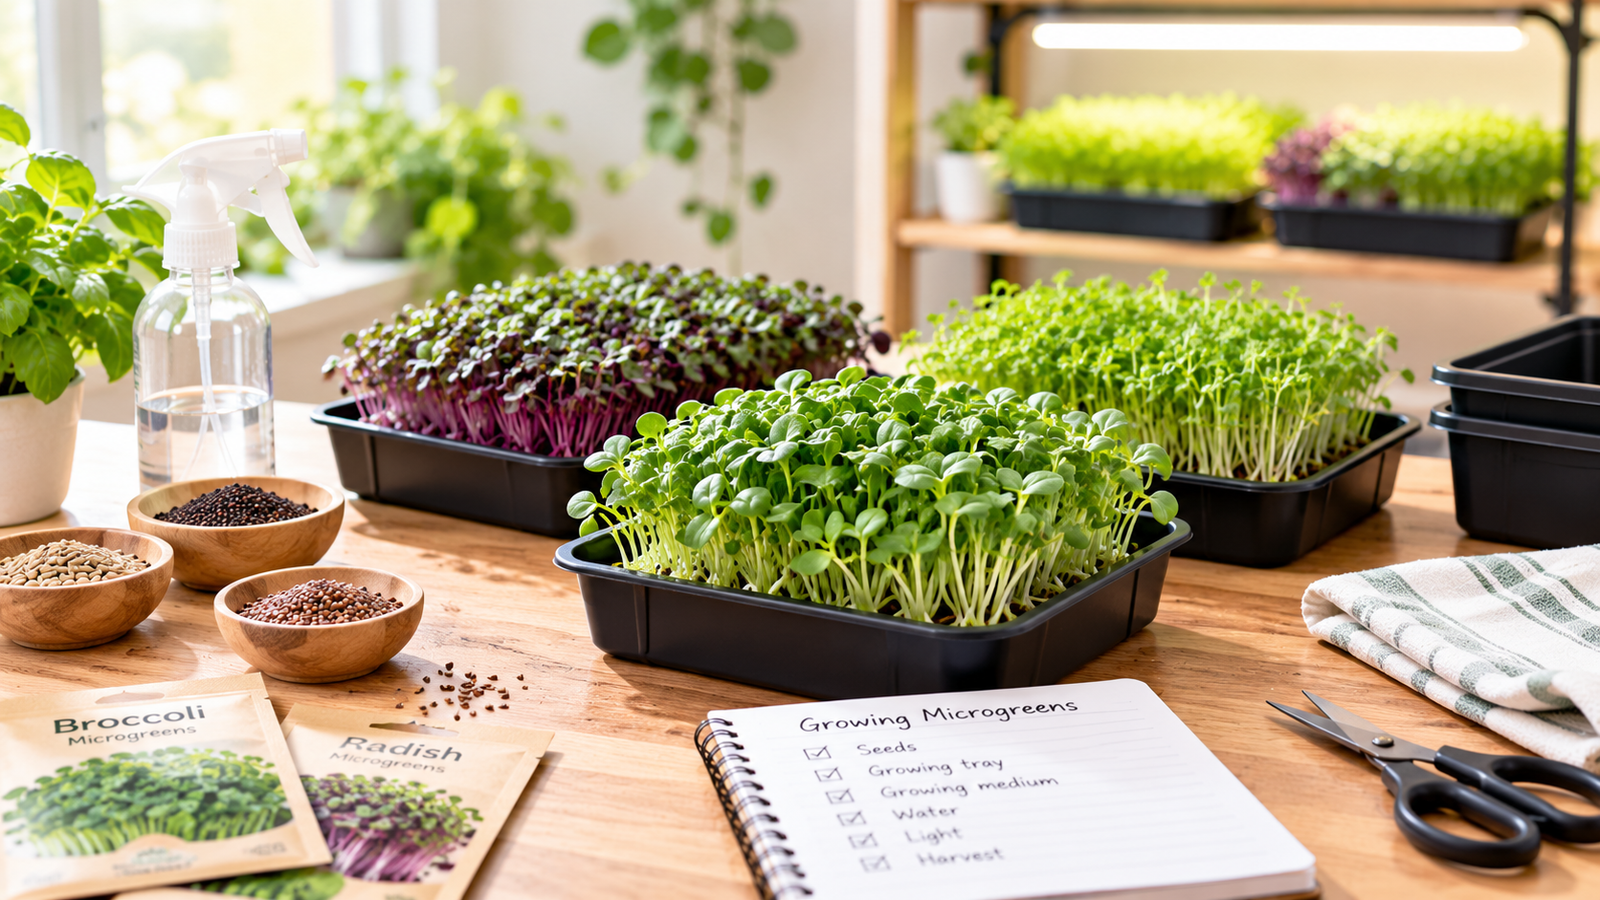
Want to grow fresh food at home without needing a large garden?
Microgreens are an excellent place to start. They require little space, grow quickly, and can be cultivated indoors throughout the year when suitable conditions are provided.
You don’t need a greenhouse, backyard, or expensive equipment. With a shallow tray, suitable seeds, a growing medium, water, and enough light, you can grow fresh microgreens in your kitchen or another suitable indoor space.
What Are Microgreens?
Microgreens are young edible vegetable and herb seedlings harvested while they are still young.
They are different from sprouts because they are allowed to grow further and develop leaves before harvesting. Common varieties include:
- Radish
- Broccoli
- Kale
- Arugula
- Mustard
- Peas
- Sunflower
- Beet
- Basil
- Cilantro
Why Grow Microgreens at Home?
They Need Very Little Space
A shallow tray can produce fresh greens without requiring a traditional garden.
This makes microgreens practical for apartments, small kitchens, balconies, and other compact spaces.
They Grow Quickly
Many varieties can be ready within one to three weeks, depending on the crop and growing conditions.
They Are Easy to Experiment With
Once you’ve mastered the basics, you can compare different varieties, flavors, colors, textures, and growth rates.
They Are Versatile in the Kitchen
Microgreens can be added to salads, sandwiches, wraps, omelets, soups, grain dishes, and more.
What Do You Need to Grow Microgreens?
You don’t need a complicated setup.
Essential Supplies
You’ll need:
- Microgreen seeds
- A shallow container or tray
- A suitable growing medium
- Clean water
- A light source
- A spray bottle
- Clean scissors for harvesting
How to Choose Microgreen Seeds
Beginners can start with radish, broccoli, kale, arugula, peas, or sunflower.
Different varieties have different growth rates and flavors, so choosing a few contrasting options can make your first project more interesting.
How to Choose a Container
A shallow container is generally easier to manage than a deep one.
You can use a dedicated microgreen tray or an appropriate reusable food container. When growing in a medium, make sure the container is clean and provides suitable drainage.
What Growing Medium Should You Use?
A lightweight soilless growing medium can work well for indoor microgreens.
Heavy garden soil is not ideal for indoor containers because it can be too dense. The source also notes that microgreens generally do not require fertilizer during their short growing cycle because the seed contains nutrients needed for initial growth.
How Much Light Do Microgreens Need?
Light is essential for healthy growth.
A sunny window may work in some situations, but grow lights can provide more consistent conditions indoors. The source cites approximately 16 hours of total light exposure per day depending on the setup.
Step-by-Step: How to Grow Microgreens at Home
Step 1: Prepare the Growing Tray
Fill the shallow container with about 1 to 1½ inches of moist growing medium.
Spread it evenly without compacting it excessively.
Step 2: Sow the Seeds
Spread the seeds evenly across the surface.
Microgreens are normally seeded more densely than mature vegetable crops because they are harvested young.
For beginners, growing one variety per tray is often easier because different plants can have different growth rates.
Step 3: Press the Seeds Gently
Press them gently into the growing medium to improve contact with the moist surface.
Step 4: Keep the Seeds Moist
Mist the surface gently during the first few days.
Keep the medium moist rather than saturated. Once the seedlings are established, bottom watering can also be used with suitable trays.
Step 5: Provide the Right Temperature
The source notes that microgreens generally germinate and grow well around 70–75°F (21–24°C).
Step 6: Give Them Enough Light
After germination, provide appropriate light.
Insufficient light can result in weak or elongated seedlings.
Step 7: Maintain Airflow
Good air circulation is useful for indoor growing.
A gentle breeze can help keep air moving around dense trays, while excessively humid conditions should be avoided.
Step 8: Monitor the Tray Every Day
Daily checks don’t need to take long.
Look for healthy growth, adequate moisture, good color, sufficient light, and good airflow.
When Should You Harvest Microgreens?
Microgreens are commonly harvested when their true leaves have developed.
Many varieties reach around 2–3 inches in height and may be ready approximately 7–21 days after sowing, depending on the crop and conditions.
Use clean, sharp scissors to cut the stems just above the growing medium.
How Should You Store Microgreens?
After harvesting, rinse the microgreens with clean water and gently dry them.
They can be used immediately or refrigerated. The source states that properly handled microgreens can be refrigerated for up to around 10 days.
Common Mistakes to Avoid
Overwatering
Keep the growing medium moist rather than constantly saturated.
Not Enough Light
Insufficient light can produce weak-looking seedlings.
Poor Airflow
Dense and humid conditions can create problems, so gentle air circulation is useful.
Mixing Too Many Varieties
Different species can have different germination and growth rates. Separate trays can therefore be easier for beginners.
Frequently Asked Questions
How long do microgreens take to grow?
Many varieties can be harvested around 7–21 days after sowing, depending on the crop and growing conditions.
Can I grow microgreens indoors?
Yes. Microgreens can be grown indoors throughout the year when suitable light, moisture, temperature, and airflow are provided.
Do microgreens need soil?
Not necessarily. They can be grown in suitable soilless growing media and dedicated growing mats.
Do microgreens grow back after cutting?
Generally, no. After harvesting, the tray is cleaned and a new batch is planted.
Which microgreens are easiest for beginners?
Radish, broccoli, kale, arugula, peas, and sunflower are good varieties to consider.
Final Thoughts
Learning how to grow microgreens at home can be surprisingly simple.
Start with one or two varieties, keep the growing medium moist, provide sufficient light and airflow, and harvest at the appropriate stage. Once you’ve mastered your first tray, you can experiment with more varieties and create a regular cycle of fresh greens for your kitchen.
Next to read: Discover the best microgreens to grow at home and choose varieties based on flavor, speed, and ease of growing.