
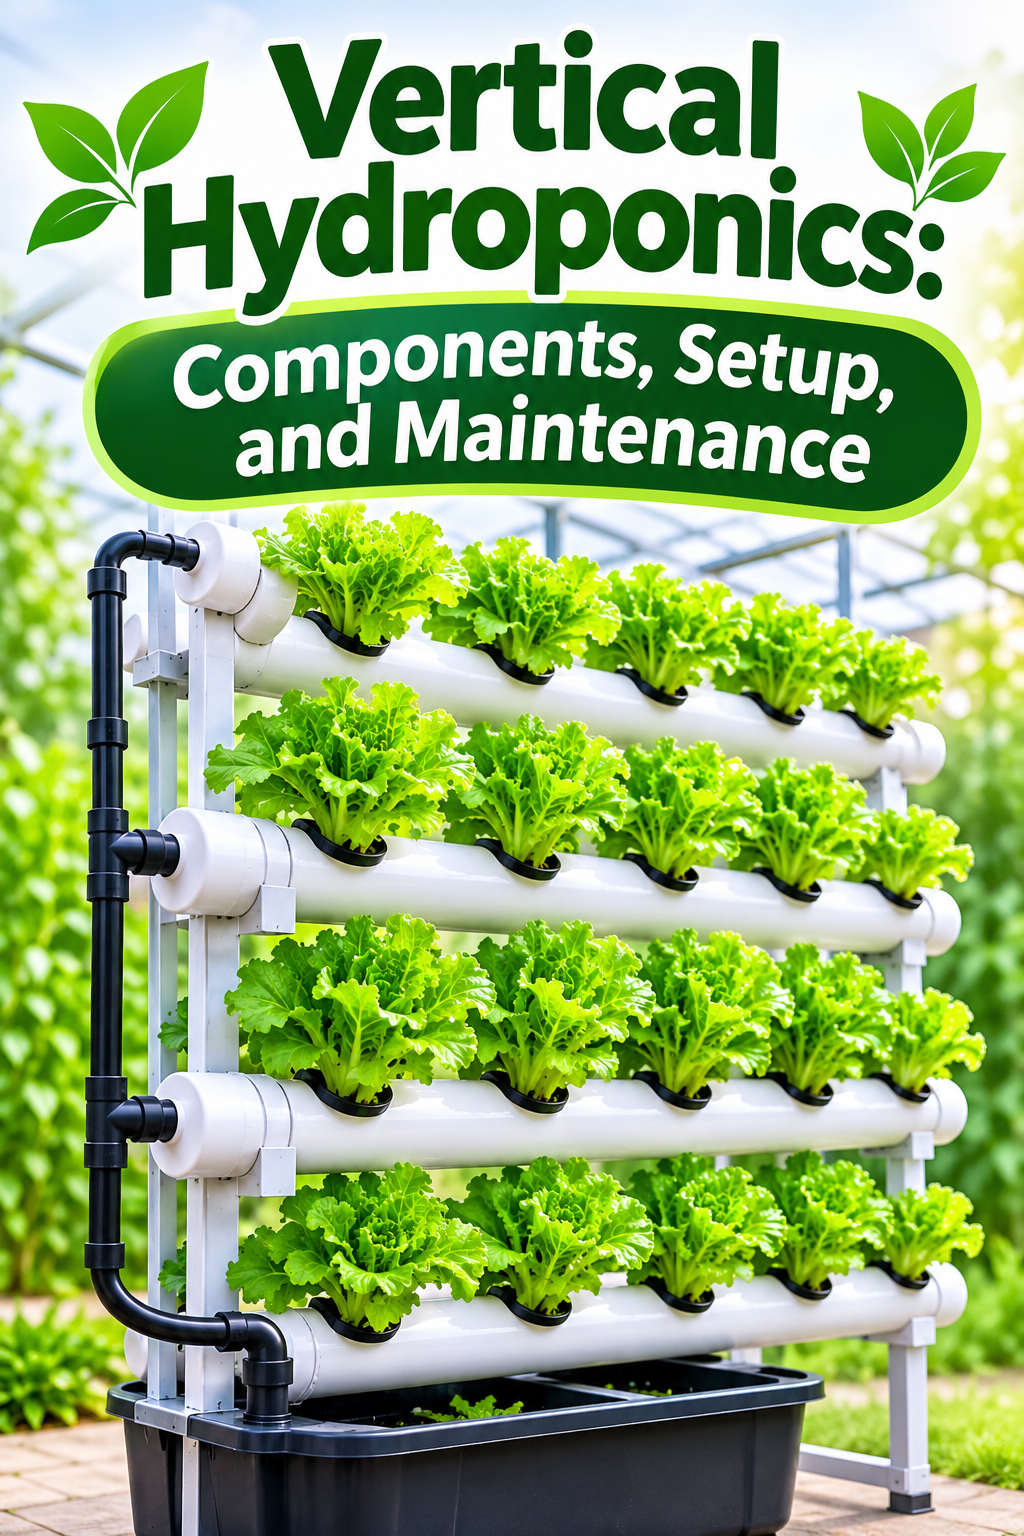
Vertical hydroponics uses height to grow plants in stacked levels, towers, or upright channels, making it useful where floor space is limited. Because designs differ, growers need to plan water distribution, light access, root space, and cleaning before planting. This guide explains the key components, setup choices, nutrient and lighting management, maintenance routine, and common problems in vertical hydroponic systems.
Table of Contents
- Understanding Vertical Hydroponics
- Main Components of a Vertical System
- Planning and Setting Up a Vertical Garden
- Nutrients, Water Flow, and Light
- Vertical Hydroponic Maintenance Schedule
- Common Problems and Practical Fixes
- Improving Results and Frequently Asked Questions
Understanding Vertical Hydroponics
Why grow vertically?
Vertical hydroponics uses height to grow plants in a smaller floor area. Instead of spreading every plant across a bench, growers arrange planting sites on towers, stacked channels, wall-mounted modules, or other upright structures. This can be useful in apartments, greenhouses, classrooms, and compact growing spaces where every square metre matters.
The phrase vertical hydroponic system describes several different designs rather than one single piece of equipment. Some towers circulate nutrient solution from a reservoir to the top and let it flow down through planting pockets. Other systems use stacked horizontal channels, individual drip lines, or modular panels. The best maintenance routine depends on the exact design and how water reaches each plant.
Vertical growing does not remove the need to provide adequate light, oxygen, nutrients, and root space. Plants near the top may receive more light than those below, and water distribution can vary from one planting site to another. Good design makes those differences manageable instead of leaving them to chance.
Which crops are a sensible starting point?
Leafy greens and compact herbs are common choices because they do not usually need the heavy support required by large fruiting plants. Lettuce, basil, parsley, and similar crops can work well when the planting pockets provide enough room for mature roots and foliage. Strawberries may suit some designs, but their water and light needs should be considered before planting a whole tower.
Before choosing a crop, check its mature size, root behaviour, harvest method, and light requirement. A seedling can look tiny in a planting pocket and still become crowded later. If leaves overlap heavily, airflow falls and lower plants may receive too little light.
Start with a few varieties and observe how each level performs. If the top plants thrive while the lower ones struggle, the cause may be lighting or water distribution rather than the nutrient formula alone.
Key takeaway: vertical growing works best when every level receives suitable light, water, and root space.
Main Components of a Vertical System
Frame, tower, or stacked channels
The supporting structure carries the weight of plants, growing media, and water. It must remain stable when the reservoir is full and the foliage becomes larger. Place the structure on a level surface, follow the manufacturer’s load guidance, and avoid positioning a tall tower where it can be knocked over easily.
Planting pockets or channels should hold plants securely while allowing roots to access moisture. Check for sharp edges, cracks, and joints that may leak. The structure should also allow you to remove individual plants and clean the interior without damaging the entire installation.
Leave space around the unit for harvesting and inspection. A vertical garden that is pressed against a wall may be difficult to clean and may develop uneven airflow or lighting.
Reservoir, pump, tubing, and distribution
Many active vertical systems use a reservoir and pump to send nutrient solution to the upper part of the structure. The solution then travels through channels, drippers, or internal pathways. The pump must deliver enough flow for the height and design, while the tubing should be sized and routed to avoid kinks.
Distribution is especially important because plants at different levels may receive different amounts of water. Inspect the top delivery point and the lowest return point, then check several planting sites between them. Do not assume that water reaching the bottom means every root zone is receiving enough.
A filter can help reduce debris entering small outlets, but it also needs cleaning. Choose components that can be accessed easily, and keep a spare critical fitting or pump available if a failure would quickly dry exposed roots.
Plant supports, media, and lighting
Net cups, collars, plugs, or other supports hold seedlings in their planting sites. Any growing medium should suit the system’s moisture pattern and should not break down into particles that block narrow passages. Rinse reusable media and clean plant supports between crops.
Indoor vertical gardens often need dedicated grow lights. Place lights so that the upper and lower levels receive useful, reasonably even illumination. A timer helps create a consistent photoperiod, but the correct duration and intensity depend on the crop and the light itself.
Keep electrical connections protected from splashes and follow the instructions for lighting and pumping equipment. Plan cable routes before filling the reservoir so that maintenance does not require reaching across wet surfaces.
Key takeaway: stable structure and accessible delivery components make maintenance easier.
Planning and Setting Up a Vertical Garden
Choose the location carefully
Measure the available height and width, then consider access to power, water, drainage, and light. Leave enough clearance to remove the reservoir lid, lift out the pump, and harvest plants without tipping the tower. A compact footprint is useful only if the unit can still be serviced safely.
Natural light can be uneven in a room, especially when a tower sits beside a window. Observe the space at different times of day rather than judging it from one quick look. If grow lights are needed, include their heat output and mounting space in the plan.
Protect floors and nearby furniture from leaks. A waterproof tray or suitable floor protection can provide an extra layer of security, but it should not replace checking fittings and reservoirs.
Assemble and test the water path
Follow the system’s assembly instructions and check that the tower or frame is stable before adding water. Confirm that tubing reaches the intended connection without being stretched or sharply bent. Ensure that the return path is open and that the reservoir can be emptied without spilling.
Run a plain-water test with no plants. Watch the top, middle, and bottom of the structure for leaks, dry planting sites, pooling, and uneven flow. Let the system run long enough to reveal slow leaks or changes after the media becomes wet.
Correct flow and stability issues before mixing nutrients. This is also the best time to check whether the pump is easy to remove and whether filters, drippers, and internal channels can be reached for cleaning.
Planting and spacing
Use healthy seedlings and place them so that roots can enter the intended moist area without being crushed. Avoid packing every opening simply because it is available; mature foliage needs room and lower levels need access to light.
Label varieties and planting dates if you are testing different crops. A small trial helps reveal which planting sites are most productive and whether the light or water distribution changes with plant size.
After planting, inspect the system frequently while roots establish. Make sure each plant is receiving water and that no seedling is drying out because its roots have not yet reached the moist area.
Key takeaway: test flow through the whole tower before planting.
Nutrients, Water Flow, and Light
Managing nutrient solution
Use a complete hydroponic nutrient product and mix it according to its label. Water source, crop, growth stage, and temperature affect the solution, so a recipe that works in one setup may not be ideal in another. Do not add extra fertilizer simply because a plant looks pale; first check roots, light, pH, and delivery.
Measure pH and electrical conductivity (EC) with suitable instruments and record the readings. EC estimates the concentration of dissolved ions but does not identify individual nutrients. Interpret it alongside plant growth and reservoir level rather than treating it as a complete diagnosis.
Check whether solution is being lost through leaks or splashing and whether the reservoir is exposed to light. Top up using a consistent method, and replace solution when contamination or imbalance cannot be corrected sensibly.
Flow and root-zone moisture
A vertical system should deliver solution to all intended planting sites. Inspect the highest delivery point, then sample plants at upper, middle, and lower levels. If one section stays dry, check the distribution route, filter, emitter, and internal channel before adjusting nutrient strength.
Some vertical designs keep roots continuously wet, while others deliver a film or intermittent drip. Follow the intended operating pattern rather than changing pump timing based on guesswork. Roots need moisture and oxygen; stagnant pools and dry pockets can both cause trouble.
Keep the reservoir level within the pump’s operating range. A pump that draws air may appear to run while delivering little solution, so listen for changes and confirm actual flow.
Balancing light and temperature
Plants at the top of a tower may be closer to a light source and can receive more intense light than those lower down. Look for consistent growth across levels, not just a healthy top canopy. Adjust fixture placement or spacing if some plants stretch while others show signs of excessive light.
Warm rooms and hot reservoirs can increase plant water demand. Keep the reservoir out of direct sunlight and avoid trapping heat around the tower. If temperatures change seasonally, review light distance, airflow, and irrigation performance instead of assuming the original settings will always work.
Good airflow helps reduce stagnant, humid pockets among dense leaves. Prune damaged foliage and harvest regularly, while avoiding aggressive removal that exposes plants to sudden stress.
Key takeaway: monitor solution and distribution alongside the way plants grow at each level.
Vertical Hydroponic Maintenance Schedule
Daily inspection
Check the reservoir level, pump operation, and whether nutrient solution is reaching the upper and lower planting sites. Look at a few plants from each level, because one healthy section cannot confirm that the entire tower is working.
Inspect leaves for wilting, curling, spots, or unusual colour, and look for leaks around connections. Check that the lighting timer is operating and that the grow area is not unusually hot. A short daily inspection can catch a blocked outlet before multiple plants are affected.
Record important changes, such as a top-up, a pH adjustment, a pump noise, or a plant that has started to wilt. These notes help distinguish a recurring mechanical issue from a one-time environmental change.
Weekly cleaning and checks
Inspect filters, tubing, outlets, and return paths for roots or debris. Clean removable parts as needed and confirm that water is distributed through the structure evenly. If the system uses small emitters, compare their output rather than checking only the first one.
Measure pH and EC on a consistent schedule and inspect the reservoir for algae, sediment, or unusual odours. Clean the outside of the tower and remove dead leaves that could fall into planting pockets or the reservoir.
Check the frame, fasteners, plant supports, and electrical cable routing. Tighten or replace worn parts according to the manufacturer’s instructions, and do not operate damaged electrical equipment near water.
Between crops
Remove plants and old roots carefully, then empty the reservoir. Clean the channels, pockets, reservoir, tubing, and removable supports. Hidden vertical passages can retain roots and biofilm, so inspect areas that are not visible during normal operation.
Use only cleaning or sanitation products suitable for the system materials and follow the label’s contact-time and rinsing instructions. Never mix cleaning chemicals. Rinse thoroughly when required before adding a fresh nutrient solution.
Run another plain-water test before planting the next crop. Confirm stable flow at all levels, check for leaks, and make sure the reservoir and pump are clean and accessible.
Key takeaway: daily checks and regular cleaning protect the whole tower, not just the visible plants.
Common Problems and Practical Fixes
Uneven growth between levels
If upper plants grow well while lower plants become pale or stretched, compare light exposure and airflow first. Vertical systems can create natural differences in shading, especially as plants mature. Adjust plant spacing, prune selectively, or improve light placement where needed.
Uneven water distribution is another possibility. Check whether solution reaches the top reliably and travels through every section. Look for blocked outlets, dry pockets, or water bypassing some roots. Test the system before changing the nutrient concentration.
Keep notes on which planting sites perform poorly over more than one crop cycle. A repeated pattern may reveal a design issue that can be corrected with better spacing, different crops, or a change to the distribution layout.
Leaks, blockages, or pump failure
Follow the water from the reservoir to the top of the system and back again. Check for loose fittings, cracked tubing, a dirty filter, or an obstructed return. Turn off and unplug equipment safely before disassembling any wet electrical or pumping component.
If the pump fails, exposed roots may dry quickly depending on the design. Have a practical response plan: know how to access the reservoir, how to restore flow, and which spare part fits. Do not rely on the sound of a running motor as proof that water is moving.
After clearing a blockage, test the entire tower and inspect several levels. A repair is not complete until the expected distribution has been restored and leaks are ruled out.
Algae, root problems, and nutrient symptoms
Light reaching nutrient solution can encourage algae. Use an opaque reservoir, cover unused openings, and repair gaps that allow light into wet areas. Algae can compete for nutrients and contribute to maintenance problems, so remove it and clean the affected surfaces.
Brown or slimy roots, unpleasant smells, or rapid wilting require attention to oxygen, temperature, sanitation, and water delivery. Root colour alone is not a definitive diagnosis, because nutrients and growing media can alter appearance.
Leaf symptoms can have several causes, including nutrient imbalance, poor light, root stress, and pests. Check the basic system conditions first, make measured changes, and seek crop-specific advice if the problem spreads or remains unexplained.
Key takeaway: troubleshoot light, flow, and root conditions before changing nutrient strength.
Better Results and FAQs
Improve the design without over-complicating it
The most useful upgrades are often simple: make filters easier to reach, label the supply and return lines, keep a spare pump or connector, and provide a safe way to empty the reservoir. These improvements reduce downtime and make cleaning less frustrating.
Use a crop log that records planting dates, variety, pH, EC, reservoir top-ups, cleaning, and harvest results. Compare plants at different levels to find out whether light, spacing, or water delivery is limiting growth. Keep one change at a time when testing a new arrangement.
Do not fill every planting pocket just to maximize the number of plants. A slightly less crowded tower can be easier to maintain and may produce healthier foliage, better airflow, and a more consistent harvest.
Frequently asked questions
What are the main vertical hydroponic system components?
Most active designs use a stable tower or frame, planting sites, a reservoir, a pump, tubing or channels, plant supports, and sometimes grow lights and filters. The exact list depends on how the system moves water.
Is vertical hydroponics suitable for beginners?
It can be, especially when the system is small and easy to inspect. Beginners should test water distribution carefully and start with crops that fit the planting pockets and light conditions.
How often should a vertical hydroponic garden be cleaned?
Check plants and water delivery daily, inspect filters and channels weekly, and clean the full system between crops. Adjust the schedule if roots, algae, or debris build up more quickly.
Why are plants on one level smaller than others?
Common causes include uneven light, poor water distribution, crowded roots, or differences in airflow. Compare the actual conditions at each level before changing nutrients.
Does vertical hydroponics save space?
It can increase the number of planting sites in a limited floor area, but it still needs room for access, lighting, airflow, and reservoir maintenance.